Pie Crust
2 1/2 c all purpose flour
1 1/4 tsp salt
3/4 c COLD shortening
3 tbsp COLD butter
6-8 tbps COLD water
Simple recipe, and it's all about technique. And YES IT DOES MATTER THAT THE FATS AND WATER ARE COLD!!! REMEMBER THIS--IT'S VERY IMPORTANT!!

Step 1: Sift your flour and salt into a large mixing bowl. This one recipe where sifting does make a difference. You want to incorporate air into it so it stays light and fluffy.

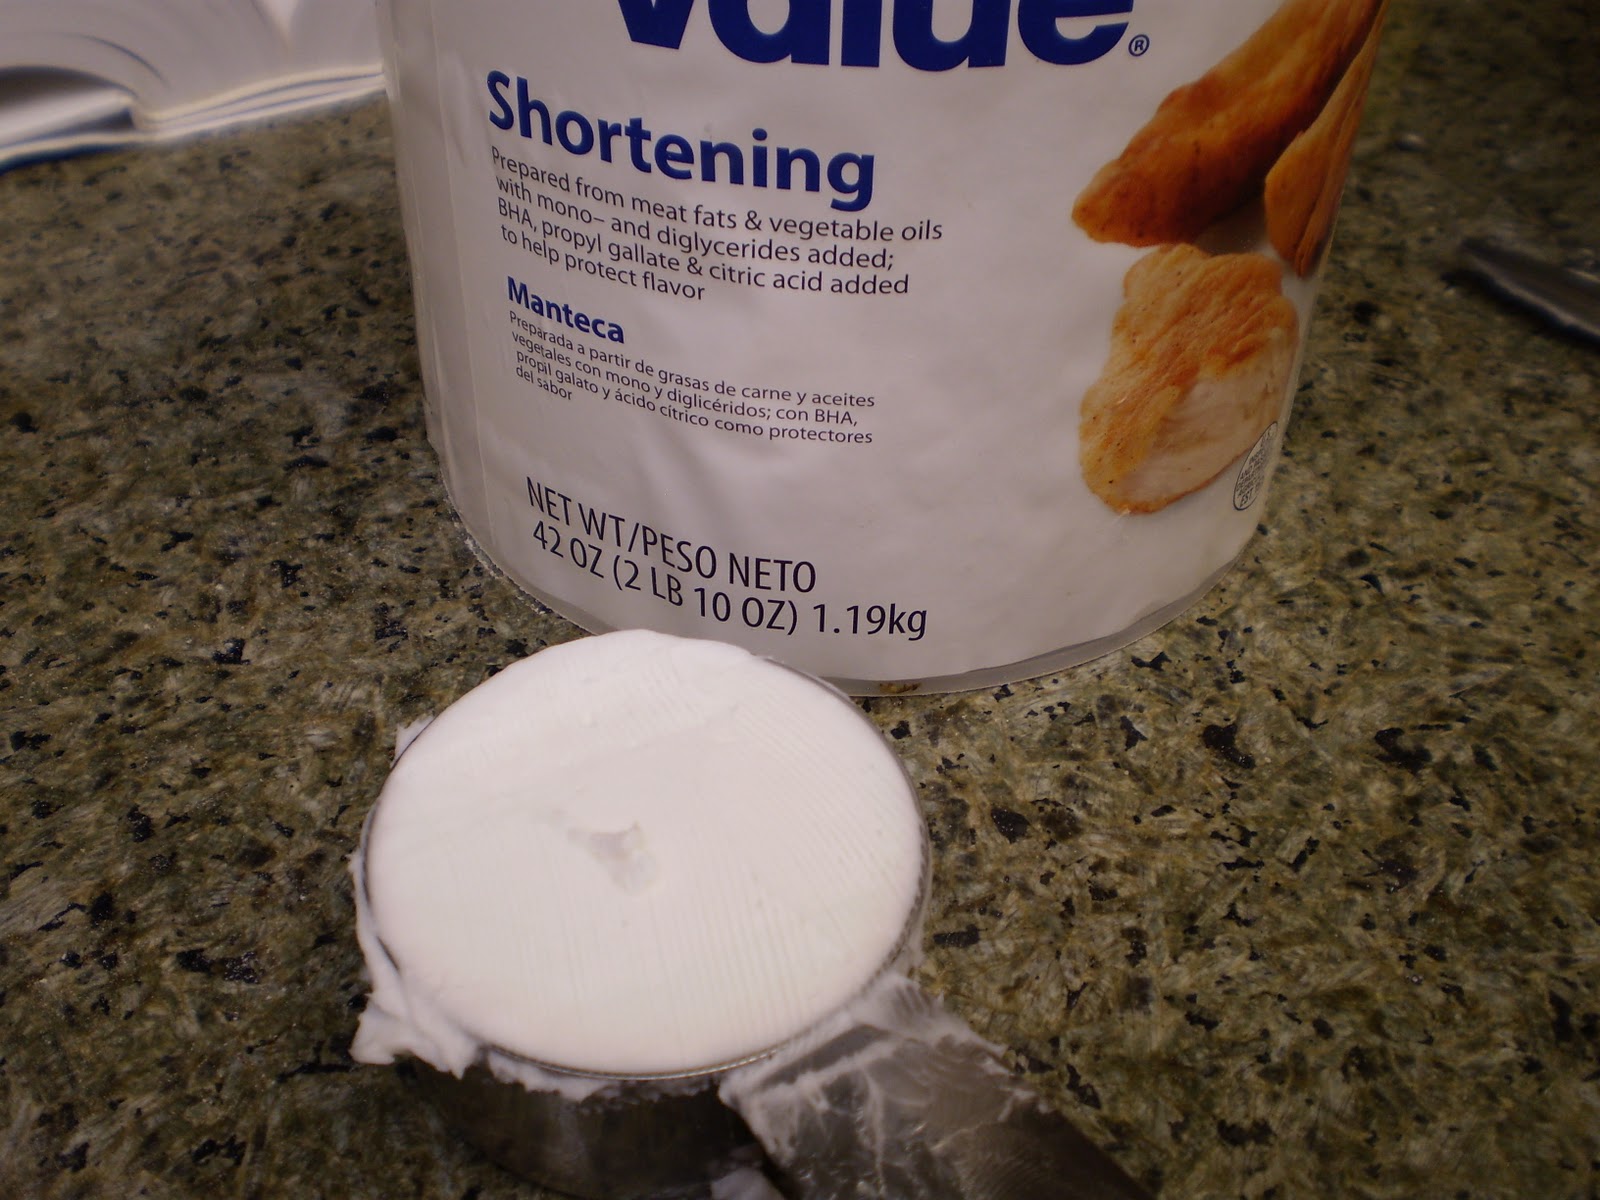
Step 2: Measure out your shortening. You may need to press it into the measuring cup with a knife or spatula. Add this to your flour mixture.
Step 3: Add your butter to the shortening and flour. Cut it into pieces so it breaks up when you cut it in with your pastry blender.

Your bowl should look like this:

Step 4: You'll now use a pastry blender which looks like this:

to combine the flour with the butter and shortening together until it looks like this:

Step 5: Adding your water.

You'll want to add half of the water (about 4 tbsp) at first. Then you'll lightly mix it with a fork, and add the rest of the water 1 tbsp at a time and stirring in between each addition until it looks like this:

Step 6: The dough is done. Don't continue to mix. Don't over handle it. At this point, you need to pull out your handy box of plastic wrap. Pull out a piece of the plastic wrap and place it on your counter or table.

Step 7: Divide the dough in half, and form each half gently with your hands into a disc. Place this on top of the plastic wrap and wrap tightly.


And you are done! Put the tightly wrapped bundles in the fridge, and in a couple of hours you will be ready to roll it out!! I'll show you how to do that in the assembly recipes.

No comments:
Post a Comment
Thanks for your comments!